
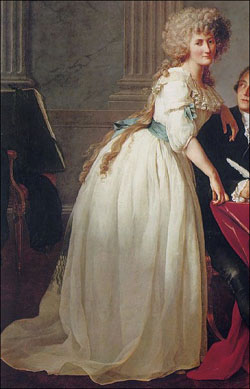
The painting that made me decide to make my chemise a la reine. Portrait of Monsieur de Lavoisier and his Wife, chemist Marie-Anne Pierrette Paulze by Jacques-Louis David (1748–1825).
Patterns Used:
– Chemise a la reine pattern from Nora Waugh.
– Various websites online for tips such as, Koshka, Jenny La Fleur, Before the Automobile, and the Chemise Dress Livejournal Community (in other words, a huge Thank You! to those of you who shared your tips and progress online).
Fabrics Used:
– White Cotton Voile from Fabrique.
– Ice Blue Silk Taffeta from Renaissance Fabrics.
– White cotton fabric as shoulder strap lining, for a little stronger structure.
Other Materials Used:
– Blue ribbon from Joann Fabrics.
– White thread.
– 1/2″ single fold bias tape for drawstring channels.
– 1/4″ twill tape for drawstrings.
Mix of machine and hand sewing. (photos below text.)
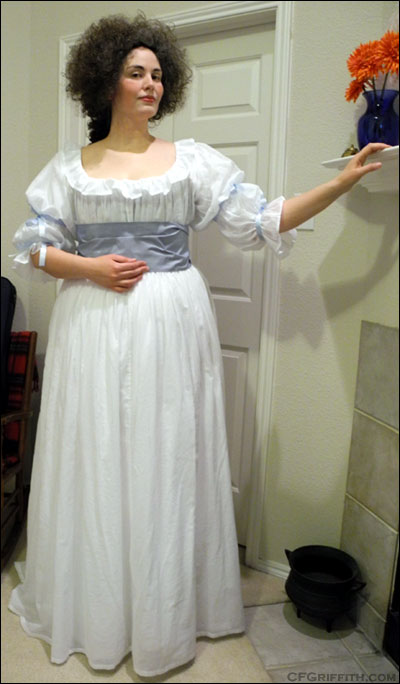
I should have written a lot of this down as I worked on the project, but I barely remembered to take photos here and there. This CalR was based on the Lavoisier portrait (pictured above), although I made various changes. I originally wanted to try whiteworking the ruffles, but was not having much luck using the fabric for that style of needlework (or at least, learning on it). The main inspirations were that I love blue, and my hair is even longer than hers. A great excuse to work my own hair into a costume, and not worry about pinning it up to wear a wig.
The fabric itself, cotton voile, was not really a problem to work with. Where I’ve been discovering a little dislike of it is when I get hot or the fabric gets even remotely damp. It crumples up and doesn’t have that soft, frilly hold to it. I used it on a gray bustle bodice for ruffles around the collar and wrists, and that’s when I first realized it would do that. It’s still a lovely fabric, and works well enough for a CalR.
I machine sewed the connecting seams to create the tube panels. Flat felling those seams and hemming edges were all hand sewn. I also connected the sleeves and sewed the drawstring channels with a sewing machine. The ruffle around the neck was connected by hand using a gathered whipstitch (the first time I tried that). The arm ribbons were attached with a quick running stitch (outside stitches are small, and inside stitches were longer).
The concept seems easy enough, but I actually fretted about the main gown part all the way up to finally tying the sash on for the first time. I felt that if I didn’t get things just right, I would actually look puffy and messy instead of the way it should look. I also worried about the front opening — would I need to pin it? How do you make it “disappear” even with all the gathered fabric? My answer was the sash.
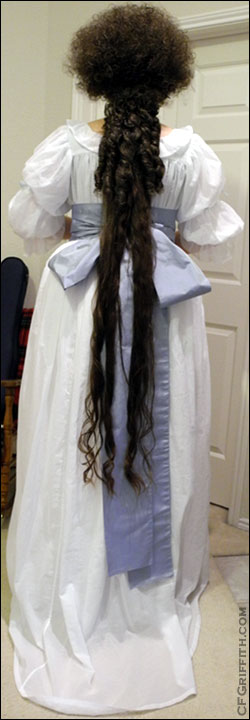
I’m glad I went with an extra long sash that was fairly wide. I do wish I’d made the sash half an inch to an inch narrower, but I like the length. I wanted it to wrap around my body enough to cover up the back drawstring channel and hold the garment flat to my waist. I originally intended to add the fringe at the ends, like in the inspiration portrait, but I ran out of time as well as made the sash a little too long. I wasn’t going to use the material of the sash itself, but attach knotted fringe made from matching embroidery floss. First the sash was too short, then I added a length and while worrying it would still be too short, it ended up too long to add the fringe. I can always go back and remove a little length if I want to add the fringe. The sash is an ice blue changeable silk taffeta (white and blue threads, but the color change is barely noticeable). I cut long lengths, double the intended width plus seam allowances. Sewed each length end to end, and then closed it up into a tube. This was pressed with vinegar and an iron to make it as crisp and flat as possible. When I realized the sash needed another length, I just matched up the new section as closely as possible, sewed it into a tube, and ripped open one end of the sash. I then slid the new length, still inside out, and both ends open, onto the part I wanted to attach it to. Sewed around, and then pulled it through and pressed it flat. Then I hand sewed the new end shut.
I fitted the bodice of the CalR onto my dressform (the tape duplicate of me wearing my 18th century stays). I knew there were some differences in the sizing of that dressform, but it also seemed like it threw off the waistlength. I felt the drawstring channel ended up too high on me, even though I tried to put it fairly low on the dressform itself. The wide sash helps with that problem.
The center front seam is closed from about hip-level or so down. The seam is left open from hip-level or so to the neckline for getting into. The back neckline is gathered to a band permanently, and the straps are attached to this. The front is drawstring-gathered and adjustable (at least as far as the ruffle allows).
I also ended up making the back neckline/shoulder straps section too low (which you attach separately to the gathered tube body). Fortunately, I’ve been making a lot of mistakes lately and have been piecing in sections on other garments, so I added more cotton voile to reshape everything the way I wanted.
The sleeves were very easy to figure out, and I lengthened them to include the end ruffle. I wanted a lot of poof, and only two gathered drawstring lines per sleeve, so that worked out smoothly.
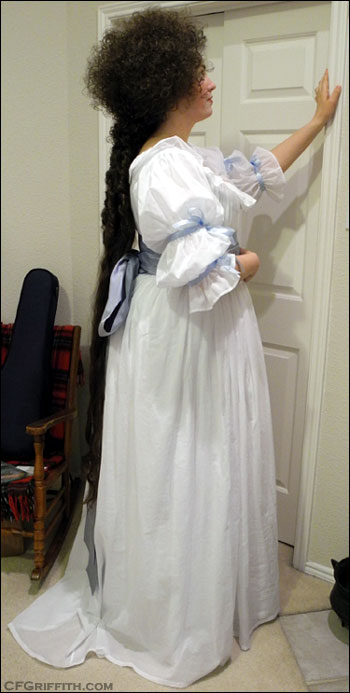
The hemline is long, but short enough in front where I don’t constantly step on it. The sides transition smoothly to floor length and the back is trained. I probably could have gone longer with the train, but I wasn’t sure if it would annoy me. Hemming was just a matter of putting it on the dress form and pinning until I was happy. A quick check on myself made sure things worked out.
The uppermost petticoat is probably my favorite I’ve made so far. Since it would be visible through the voile of the CalR, I wanted it to look nice, and I also wanted it to be as close to the hemline of the CalR as well. I’m wearing one other petticoat underneath that, and it’s shorter — I figured I could wear it with other late 18th century costumes.
The layers I’m wearing, are my narrow-sleeved shift, my stays, false rump, two petticoats, and of course the CalR and sash.
I’m also wearing a wig along with my real hair (the longest part in back). I will hopefully be making a page about that part of the outfit.
Photos (first are a few posed photos, and construction photos are after those. You can view the full Flickr album here):
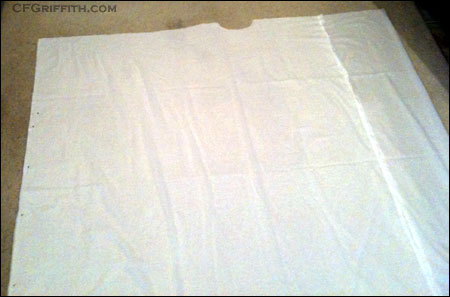
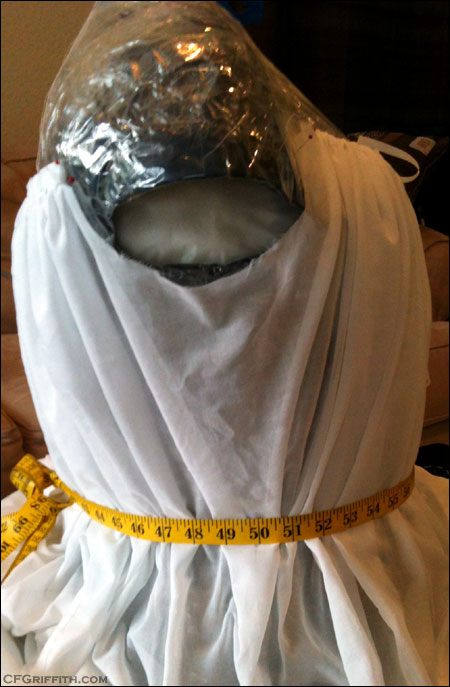
I apologize for the quality of some of these images — they were taken before we bought a better camera. This is the basic body of the chemise a la reine. It is a few panels of fabric sewn together in a tube. I can’t remember offhand how wide my fabric was (50 something inches), and I used about two and a half panels. The top part is shaped for the bottom of an armhole to attach straps to later.
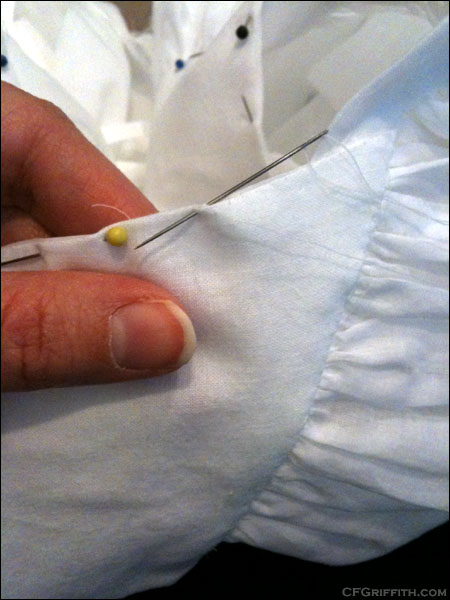
Although I machine-sewed the edges to create the tube, I hand sewed the seam allowances by flat-felling them.
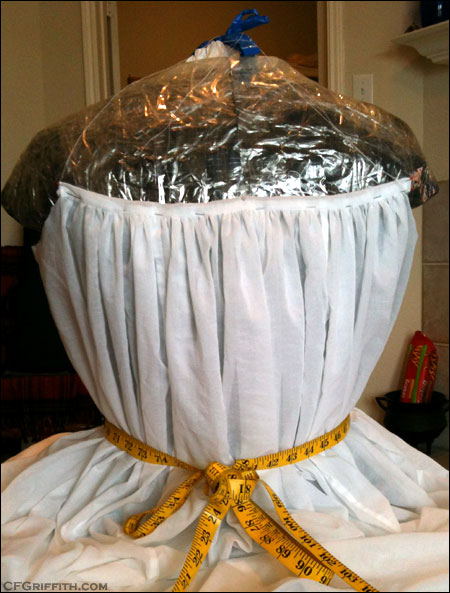
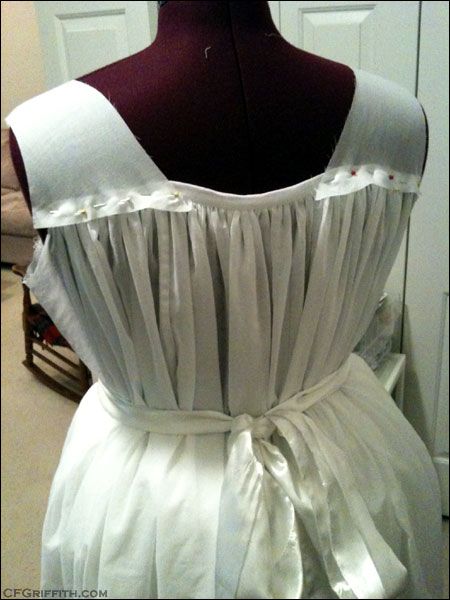
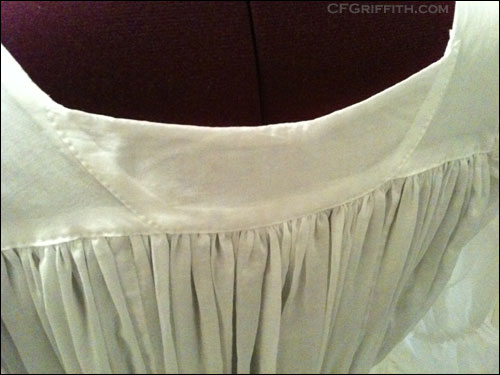
Ignore the measuring tape acting as a temporary sash, this is the back neckline being fitted on the dressform. My CalR *does* have a gathered waist channel — where only the sash is holding the dress in place were temporary to help check the fit and if I had too much bulk. I worked the top part before adding the waist channel to ensure it went evenly in the correct spot.
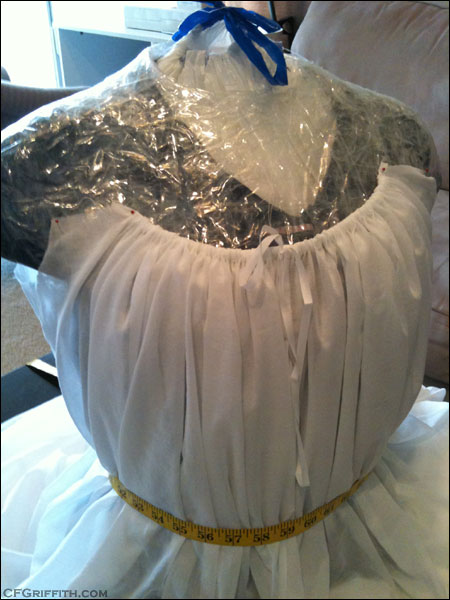
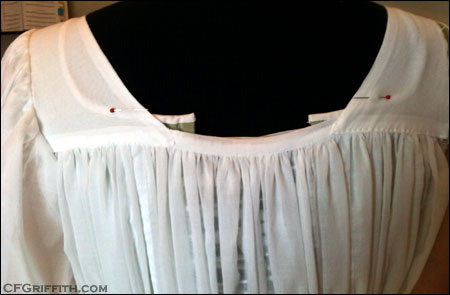
The front neckline being fitted on the dressform.
The side, showing the bottom of the armhole. The sides were loose and hanging (even more than this photo shows) until I finally put the sleeves on.
This shows the first layer of the shoulder straps going on to help finish shaping the neckline (this is the lining-side — I attached the outer fabric on later). The lining is attached to the inside of the garment to enclose seam allowances (I can’t remember if this was a temporary pinning for fit, or if it’s inside-out on the dressform).
Attaching the outer fabric to seal the edges of the shoulder straps.
I didn’t like the shape or how low the back neckline was at first.
I pieced another section (lining and outer) onto the back neckline to raise it, and give it a better shape.
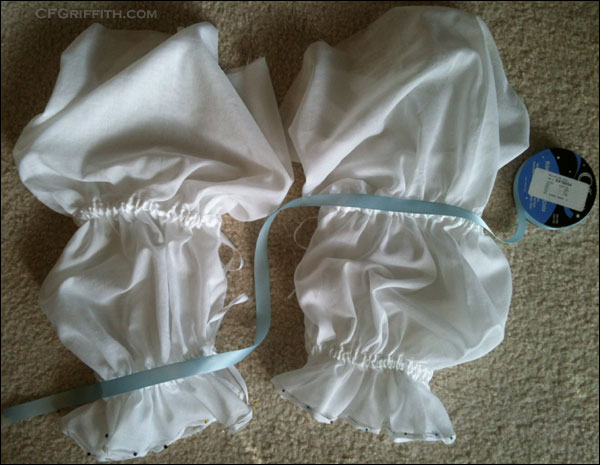
The sleeves, with their drawstring channels sewn on, ready to be attached after the cuffs are hemmed. Sewing on the blue ribbons was one of the last things I did.
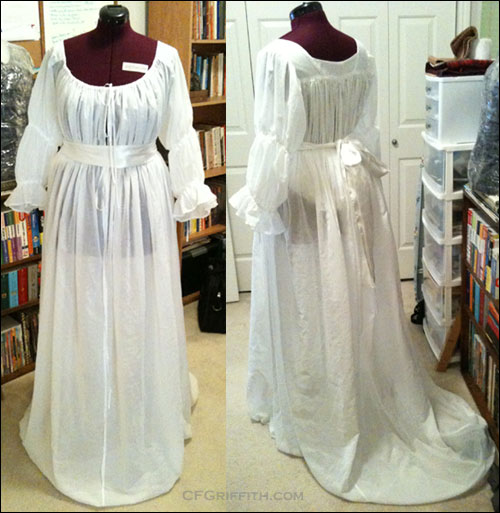
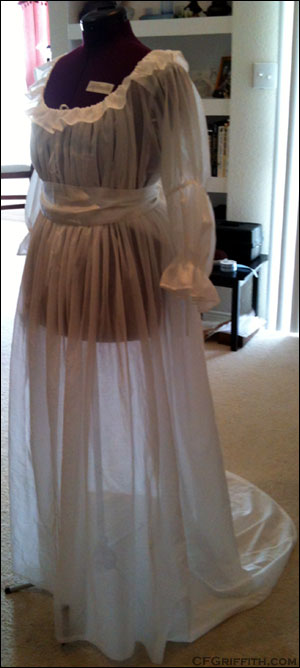
The chemise a la reine almost finished — it just needs the neck ruffle, the arm ribbons, and the sash.
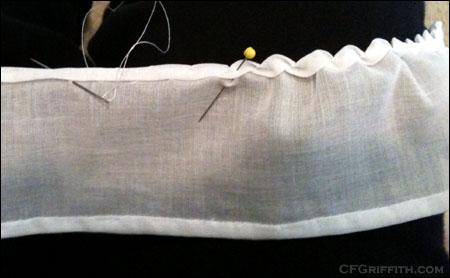
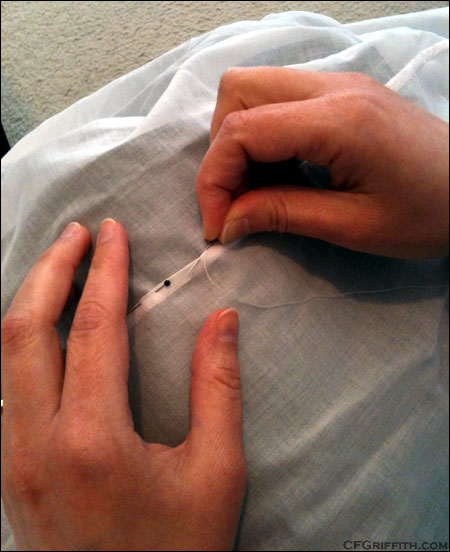
Whip gathering the ruffle.
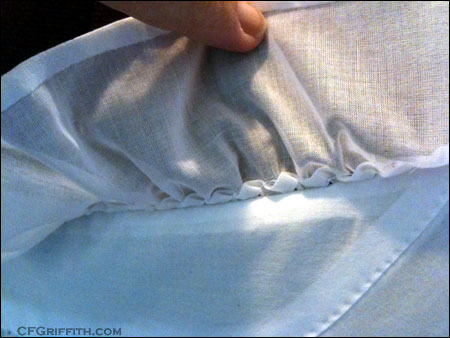
The underside of the gathered neckline ruffle.
All that’s left is the blue sash and the arm ribbons.
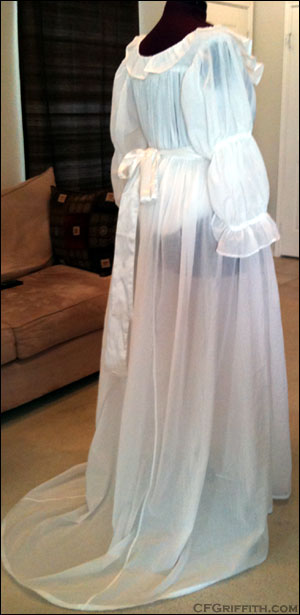
Still missing the blue sash and arm ribbons.
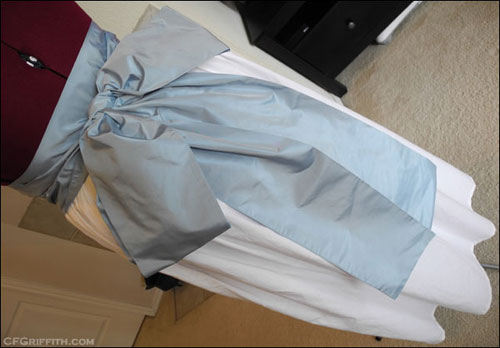
The blue sash before I added the extra length. It was even shorter on me.
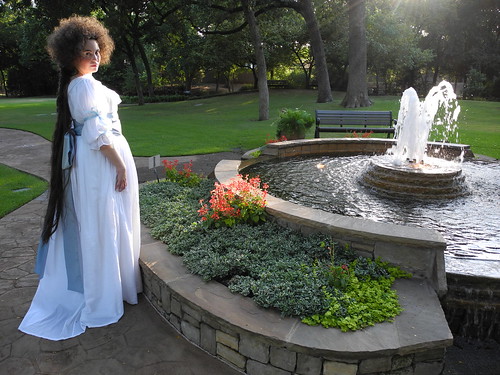
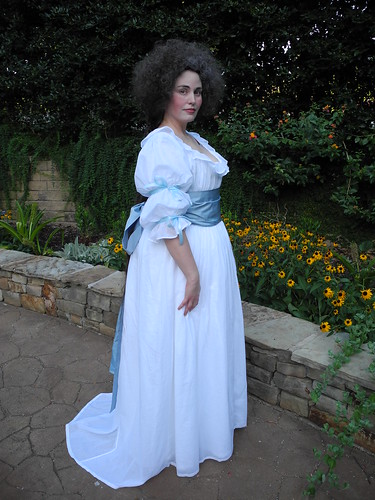
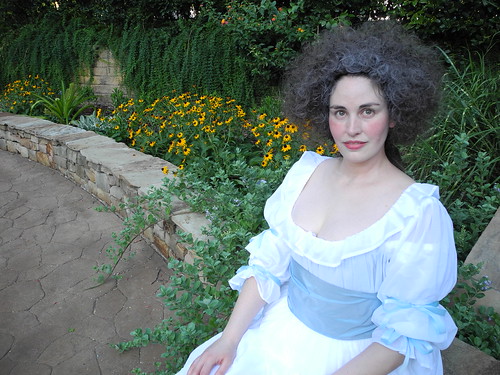
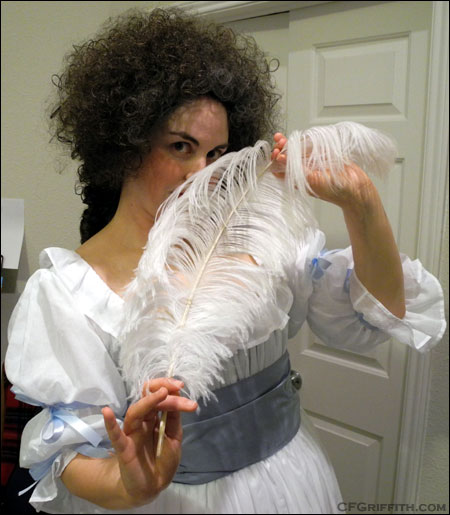
One of the first teaser photos I used on the blog for the chemise a la reine project.
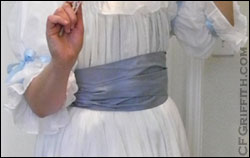
The other teaser photo. It was hard not to post during the whole process, but since it was such a big, over-the-top outfit, I wanted to keep it (mostly) a surprise.
And finally, a video showing how the fabric moves:


I love this! You did such an amazing job, and it’s proving a big help with my own project. I have seen other Reine dresses that had the waist channel, sometimes more than one, and I just didn’t like it. Seeing here with just the top gathers and the sash, I think that looks much better. =)
Oh mine does have the waist channel sewn in (only one as that’s how I preferred it to the double-channel look), but I was in an absolute panic over how it was turning out until I tied a sash around it to see what I thought. It really is an odd garment — it went against everything I was used to, but as you come closer to finishing it, you start seeing the way it really looks (whew)! Thanks!
But yes, some of these photos do show it as a temporary-sash-only look. Very handy to give a little bit of control over shifting and an idea of how it’s looking.
Ah, I see. Okay. =)